Dairy Garden Wicking Beds 7th November 2015
“Wicking beds water plants from below rather than above. They're basically containers with water reservoirs at the base - like a giant self-watering pot. Moisture is drawn up through the soil via a process called capillary action or wicking. This allows moisture to be more evenly distributed through the soil, creating better growing conditions for the plants.” (Gardening Australia Fact Sheet)
Great for small spaces or for planting onto concrete or hard surfaces.
ANL – materials:
1 ton (1 m3) premium vegetable garden mix- $72
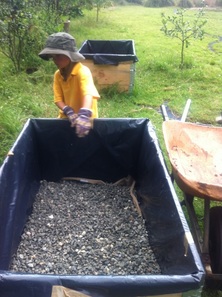
1/3 ton Blue metal gravel $24 ($72 a ton)
Builders Plastic 20 metre roll $30
Delivery $42
Other materials
Hessian bags---supplied for free from Sara at Karmee Coffee Artarmon
(or can use old carpet)
Wooden planter beds- free from Tony recycled ATM crates
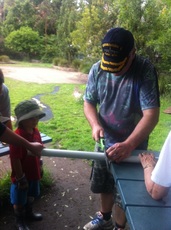
Plastic tube 60 cm (5cm diameter)and small piece tube 10 cm long (1cm diameter)- Bunnings
Recycled shade cloth (Bernadette) cut into rectangle slightly larger than the surface area )120 x 80cm ) so 5-10 goes up the side of the box.
Equipment needed: spirit level, drill, saw , mattock/spade, wheel barrow or buckets, tape,silicon,ruler
Method:
Place beds in full sun. Our beds are 60 cm high by 80cm by 120cm long.
Place planter boxes on level ground (vital it is level for water flow)
Place hessian bag in 2 layers on ground
Cover with builders plastic cut long and wide enough to line the entire inside walls up to the top, perhaps a little over hang you can tape down
Cover with 2 layers hessian bags (protect plastic from gravel)
Spade in gravel to 10cm height. At this point drill a weep hole in the side and carefully cut a slit through the plastic and wiggle 10 cm of small tube into the side of the bed so half is inside and half outside. Glue around tube.
Cover with shade cloth (this separates the gravel and stops the soil falling into the water).
Place 60 tube in one corner so it goes all the way to the bottom without piecing the plastic.
Fill with soil to a depth of between 20-30cm (use a ruler) NO MORE THAN 30CM) as it will not wick (ie suck up the water)
Fill the beds water tray up via the 60 cm vertical tube until it overflows out from the weep tube (which is at approx. 10 cm mark)
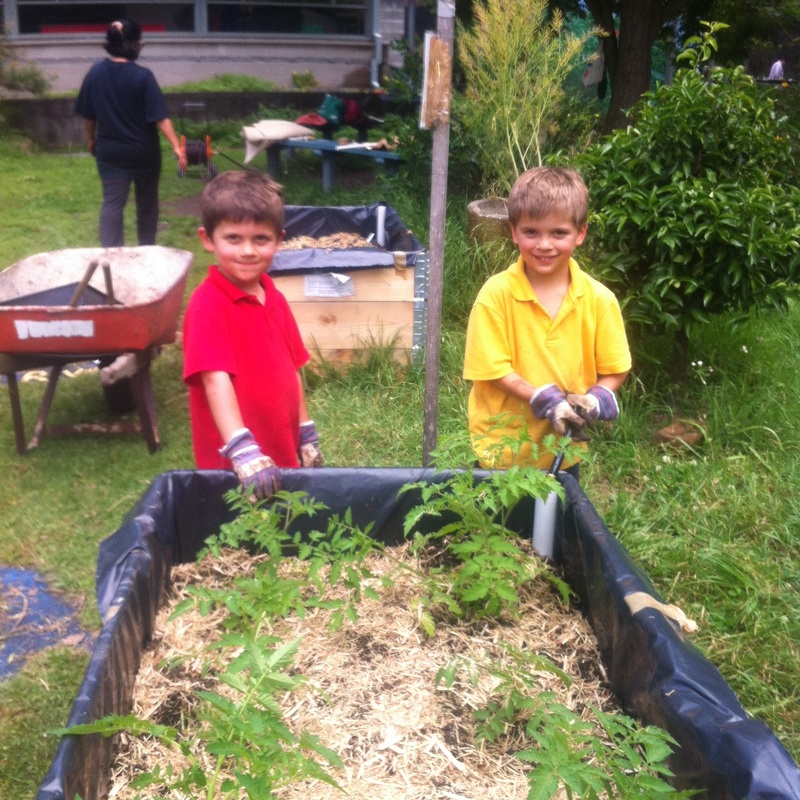
Plant out with vegetables. Water from top for the first week until roots established then only via the pipe. Sprinkle some lucerne or hay over the top to keep moisture in.
The idea is to encourage the roots to go down . The soil may feel dry on top which is fine all the action is down the bottom. As the water/fertilizers don’t wash away go lightly on feeds as you can kill plants with too much fertilizer. Best start with premium organic soil.
Come visit ours and see how easy it is.
“Wicking beds water plants from below rather than above. They're basically containers with water reservoirs at the base - like a giant self-watering pot. Moisture is drawn up through the soil via a process called capillary action or wicking. This allows moisture to be more evenly distributed through the soil, creating better growing conditions for the plants.” (Gardening Australia Fact Sheet)
Great for small spaces or for planting onto concrete or hard surfaces.
ANL – materials:
1 ton (1 m3) premium vegetable garden mix- $72
1/3 ton Blue metal gravel $24 ($72 a ton)
Builders Plastic 20 metre roll $30
Delivery $42
Other materials
Hessian bags---supplied for free from Sara at Karmee Coffee Artarmon
(or can use old carpet)
Wooden planter beds- free from Tony recycled ATM crates
Plastic tube 60 cm (5cm diameter)and small piece tube 10 cm long (1cm diameter)- Bunnings
Recycled shade cloth (Bernadette) cut into rectangle slightly larger than the surface area )120 x 80cm ) so 5-10 goes up the side of the box.
Equipment needed: spirit level, drill, saw , mattock/spade, wheel barrow or buckets, tape,silicon,ruler
Method:
Place beds in full sun. Our beds are 60 cm high by 80cm by 120cm long.
Place planter boxes on level ground (vital it is level for water flow)
Place hessian bag in 2 layers on ground
Cover with builders plastic cut long and wide enough to line the entire inside walls up to the top, perhaps a little over hang you can tape down
Cover with 2 layers hessian bags (protect plastic from gravel)
Spade in gravel to 10cm height. At this point drill a weep hole in the side and carefully cut a slit through the plastic and wiggle 10 cm of small tube into the side of the bed so half is inside and half outside. Glue around tube.
Cover with shade cloth (this separates the gravel and stops the soil falling into the water).
Place 60 tube in one corner so it goes all the way to the bottom without piecing the plastic.
Fill with soil to a depth of between 20-30cm (use a ruler) NO MORE THAN 30CM) as it will not wick (ie suck up the water)
Fill the beds water tray up via the 60 cm vertical tube until it overflows out from the weep tube (which is at approx. 10 cm mark)
Plant out with vegetables. Water from top for the first week until roots established then only via the pipe. Sprinkle some lucerne or hay over the top to keep moisture in.
The idea is to encourage the roots to go down . The soil may feel dry on top which is fine all the action is down the bottom. As the water/fertilizers don’t wash away go lightly on feeds as you can kill plants with too much fertilizer. Best start with premium organic soil.
Come visit ours and see how easy it is.
 |   |
 RSS Feed
